The Microphone can be used for a variety of activities with sound waves:
Demonstrate how the wave pattern changes when frequency and amplitude are changed
Compare the waveforms from various musical instruments
Have students capture the waveform of the sound of a tuning fork and model the sine wave using a function
Measure the speed of sound by using reflected sound waves in a tube
Demonstrate beat patterns
Determine the period and then the frequency of a sound by measuring the time between peaks on the waveform
Display the fast Fourier transform (FFT) of a sound

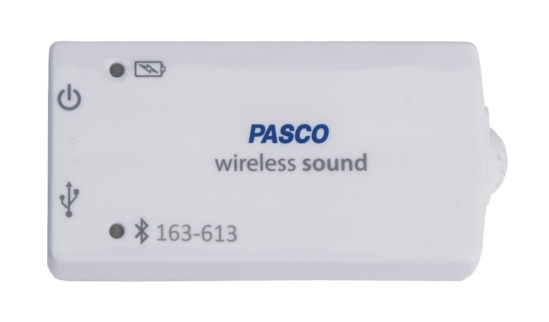
Figure 1:A photo of the wireless sound sensor.
Setting up the Microphone for Spectrum Analysis
This sensor is used with Capstone and a computer. Here is the general procedure to follow when using the Microphone:
Connect the Microphone Probe to the interface.
Click the Sensor Data menu and select FFT.
Turn on the sensor by pressing the power button until the lights turn on.
Select the sensor that matches the device ID printed on your sensor.
Click Hardware Setup in the Tools palette to close the Hardware Setup panel.

Figure 2:Pasco sensor menu.
Specifications
Wirelessly measures sound wave data at high sample rates (100 kHz)
Two sound sensors in one (sound wave and sound level)
More Information
For more details, the Pasco website has a great bit of information.
https://